Want to Switch Up Your Look with Flat Tip Hair Extensions?
As a CEO, my role often involves navigating through uncharted territories and learning new things. The beauty industry has always intrigued me, and recently, I’ve delved into the realm of hair extensions. According to BeautyTrends Report, hair extensions, particularly the flat tip variety, have seen a surge in popularity in the past few years. Now, let me share some intriguing insights I’ve gathered on how to install flat tip hair extensions.
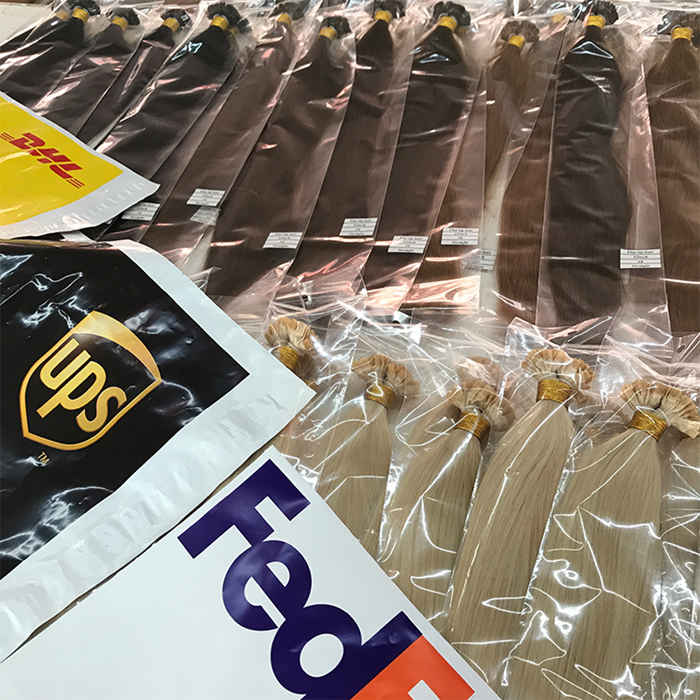
Flat tip hair extensions are a versatile, semi-permanent solution for those seeking length, volume, or color change. Comprised of several hair strands bonded together by keratin at the tip, they are attached to the natural hair using a heating tool. This process, though seemingly complex, can be simplified with proper guidance and practice.
Embarking on this hair transformation journey might seem daunting, but don’t fret! I’m here to guide you through the process, step by step.
So, How Do We Install Flat Tip Hair Extensions?

Before we jump into it, here’s a quick list of tools you’ll need:
- Flat tip hair extensions
- Tail comb
- Hair clips
- Keratin glue melting connector (a heating tool)
- Keratin glue remover
You can easily find these tools at your local beauty supply store or online. And, of course, don’t forget a mirror!
Preparation: Start by thoroughly washing and drying your hair. Oily or dirty hair can hinder the bonding process. You should also comb your hair to remove any tangles.
Sectioning: Use the tail comb to section off your hair. Start from the lower back and work your way up. Make sure each section is thin enough for the extensions to blend naturally.
Application: Hold the flat tip extension under the natural hair and use the heating tool to melt the keratin glue at the tip of the extension. Roll the melted keratin around the natural hair until it cools and hardens. Repeat the process until you’ve covered all sections.

Any Tips for a Smooth Installation Process?
Absolutely! Here are a few pointers that could make your experience a lot easier:
Patience: Take your time during the process, especially when you’re just starting out. It’s important to get each step right.
Placement: Avoid installing extensions too close to the hairline or nape of the neck, as they can be visible and cause discomfort.
Care: Once installed, take good care of your extensions. Use shampoos and conditioners that are safe for extensions, avoid excessive heat, and gently brush your hair daily.
Is It Worth It to Install Flat Tip Hair Extensions?
In my view, absolutely! While it does require a bit of effort and patience, the end result is often impressive. Flat tip hair extensions provide a natural look, are comfortable to wear, and allow for styling versatility.

Can This Knowledge Unlock Hidden Profits?
Believe it or not, it can. The beauty industry is constantly evolving, and having a diverse skill set can open up numerous opportunities. By learning how to install flat tip hair extensions, you’re not just enhancing your personal style; you’re also acquiring a skill that’s high in demand in the beauty sector.
Conclusion
Whether it’s in the boardroom or the world of beauty, exploring new territories and acquiring new skills is part of my DNA as a CEO. Installing flat tip hair extensions may seem a bit offbeat, but it’s yet another example of how stepping outside of our comfort zones can lead to personal growth and potentially unlock hidden profits.